

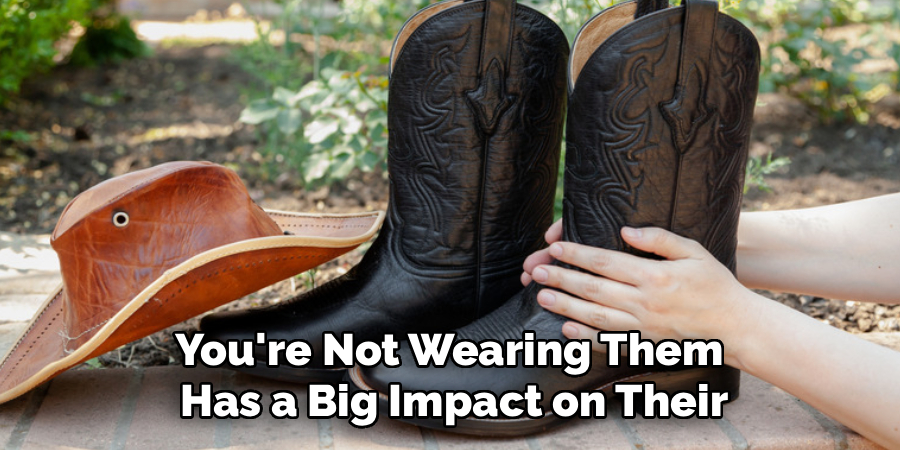
A great pair of leather boots is a timeless investment that can last for years, but only with the right attention. Over time, daily wear can lead to dirt, scuffs, and a loss of their original appeal. Fortunately, learning how to clean leather boots is simple and affordable. With a little bit of effort and proper care, you can easily restore your favorite boots, extending their life and keeping them looking fantastic. This guide will walk you through everything you need to know.
Why Regular Cleaning and Care Are Essential for Leather Boots
Putting in the effort for regular cleaning is vital for the longevity of leather footwear. Dirt and grime don’t just look bad; they can actively harm the leather by drawing out its natural oils, which leads to dryness and cracking. Once the leather cracks, there is no going back.
Proper care preserves the look, feel, and durability of your boots. Depending on the type of leather and how often you wear them, a consistent cleaning schedule prevents permanent damage and keeps your boots in top shape. We will explore how to protect your investment and what can happen if you neglect them.
Protecting the Lifespan of Your Leather Boots
To ensure the longevity of leather footwear, you need a consistent care routine. Proper care is about more than just looks; it is about preserving the material itself. Leather is a natural material that requires moisture to stay flexible and strong.
The cleaning process plays a huge role in this. When you clean your boots correctly, you remove abrasive particles that can wear down the surface. Following up with a good conditioner replenishes the leather’s natural oils, which are stripped away by dirt and exposure to the elements. This simple step prevents the leather from becoming brittle.
Think of it as a maintenance plan for your favorite footwear. Just a little bit of attention after wearing them, especially in harsh conditions, can add years to the life of your boots, making your initial investment worthwhile.
Preventing Damage from Dirt, Moisture, and Stains
Dirt is one of leather’s biggest enemies. When excess dirt and dust accumulate, they act like fine sandpaper, creating micro-scratches on the boot’s surface every time you move. If left uncleaned, this grime can lead to permanent dullness and wear.
Moisture poses another significant threat. While leather has some natural water resistance, prolonged exposure can lead to water damage, causing the material to stiffen and even warp as it dries. Winter brings the additional challenge of salt stains, which can leave unsightly white marks and pull essential moisture from the leather.
Without a proper cleaning routine, these issues can compound. Tough stains from oil or ink can set in, becoming much harder to remove later. By taking preventive measures, you can avoid these common problems and keep your boots looking their best.
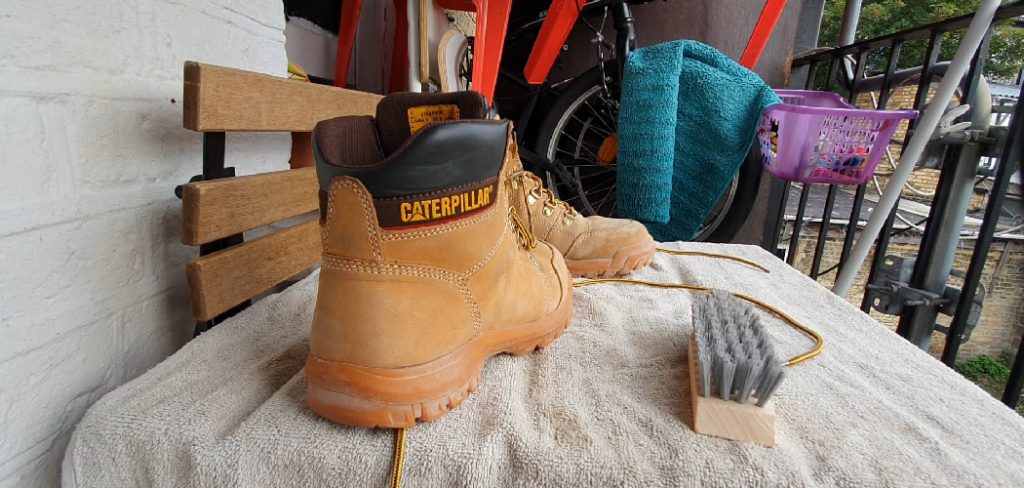
What You’ll Need to Clean Leather Boots at Home
Gathering the right supplies is the first step to cleaning your boots effectively. You don’t need a lot of expensive cleaning products to get the job done. Many effective tools are likely already in your home, such as a soft brush and clean cloths.
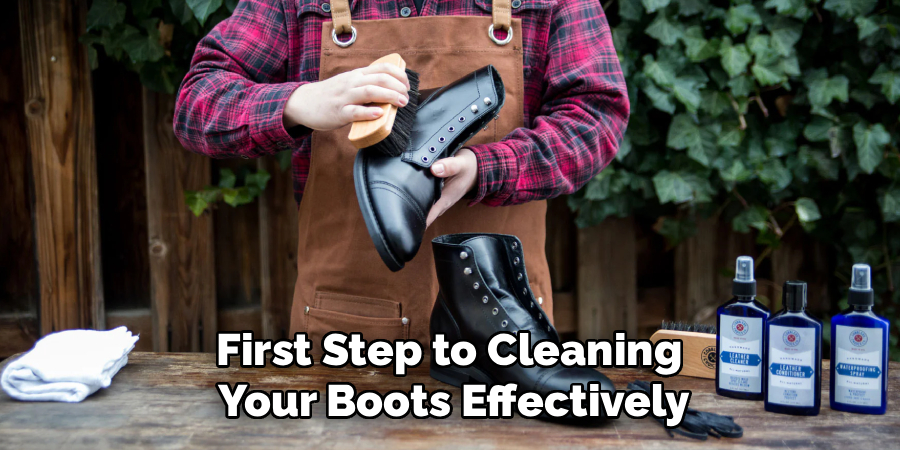
For cleaning, you can choose between specialized leather cleaners or simple household alternatives. A gentle mixture of soapy water is often sufficient for general cleaning, but specific products are designed to be safer and more effective. Let’s look at the recommended tools and some safe DIY options.
Recommended Cleaning Products and Tools
For the best results without risking damage, using products made specifically for leather is your safest bet. A good leather cleaner or saddle soap is formulated to clean effectively while being gentle on the material. These products lift dirt without stripping the leather of its essential oils.
Having the right tools is just as important as the cleaning solution. A soft brush, like a horsehair shoe brush, is perfect for removing loose dirt and for buffing. You will also need at least two soft cloth rags—one for cleaning and one for drying and polishing. An old toothbrush can also be handy for cleaning hard-to-reach areas like the welt or seams.
Here are the key items you’ll want to have on hand:
- Saddle soap or a dedicated leather cleaner
- A horsehair or soft brush
- Multiple clean, soft cloths
- A bowl of lukewarm water
- An old toothbrush for detailed work
Safe Household Alternatives for Leather Cleaning
If you don’t have specialized leather cleaners, you can turn to some common household items. However, you must use them with caution. Is it safe to use household cleaners on leather boots? While some are okay in moderation, harsh chemicals should always be avoided as they can cause irreversible damage.
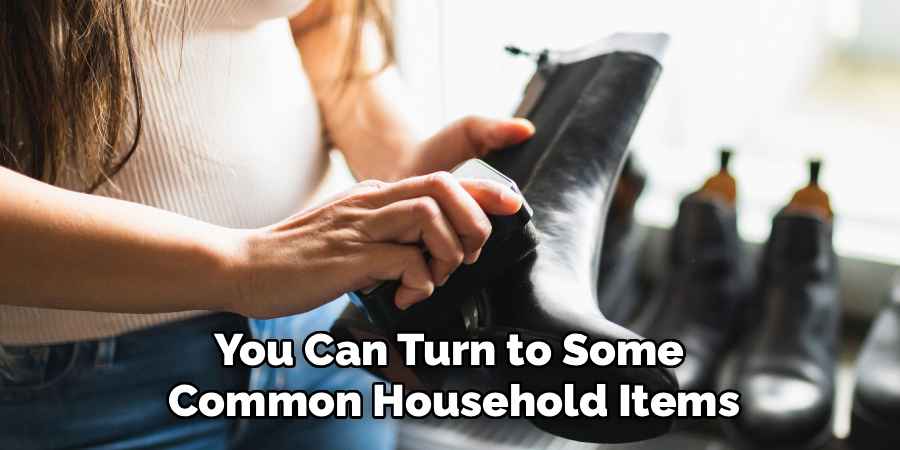
A very mild solution made with a small amount of gentle dish soap and water can work for basic cleaning. Another option is a diluted white vinegar solution, which is particularly effective for removing salt stains. For conditioning in a pinch, a tiny bit of coconut oil can add some moisture back into the leather, though it won’t offer waterproofing.
Here are a few safe household alternatives:
- Mild dish soap: A few drops mixed with water to create a soapy water solution.
- White vinegar solution: Mix one part white vinegar with two parts water.
- Coconut oil: Use a very small amount for conditioning after cleaning.
Preparing Your Leather Boots for Cleaning
Before you start washing, preparing your boots is a critical step that makes the whole process easier and more effective. The goal is to remove as much surface-level dirt and debris as possible so you aren’t just rubbing grime into the leather during the cleaning stage.
A quick brush-down or wipe with a dry, clean cloth can get rid of excess dirt, mud, and dust. This simple action prevents scratches and ensures your cleaning solution can work on the actual surface of the boot. Let’s break down the two main preparation steps.
Removing Laces and Insoles
The very first thing you should do with your pair of boots is remove the laces. This allows you to access the entire tongue and eyelet area, which often collects a surprising amount of dirt. It also gives you a chance to clean the laces themselves.
You can hand-wash the laces with a bit of soap and water or toss them in the laundry for a deeper clean. If they are frayed or heavily stained, this is a great opportunity to replace them for an instant refresh. Fresh laces can make a pair of old boots look surprisingly new.
If your boots have removable insoles, take them out as well. This allows the interior of the boot to air out and makes it easier to clean the inside if needed. Setting the insoles aside ensures they don’t get wet during the cleaning process.
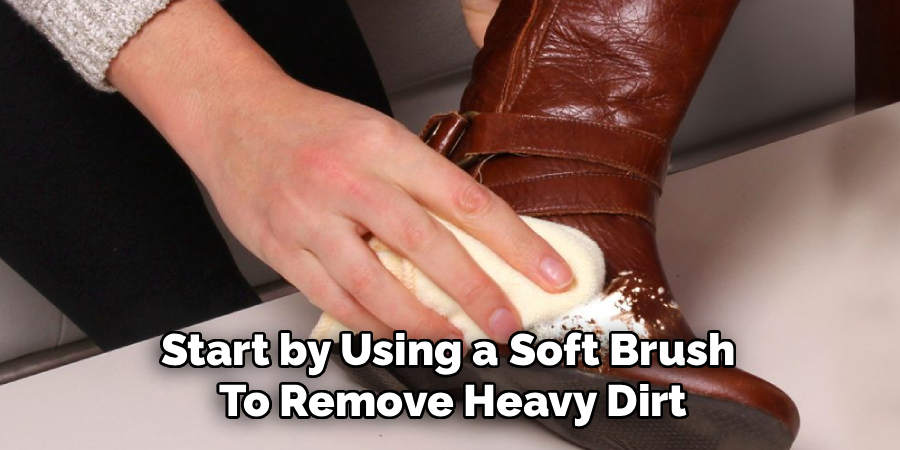
Brushing Off Dirt and Mud Safely
How do you safely remove dirt and mud? Start by knocking the soles of your boots together to dislodge any large clumps of mud. Then, use a brush to sweep away the remaining excess dirt. It’s important to do this while the dirt is dry, as wet mud can smear and get pushed deeper into the leather’s pores.
For most smooth leather, a soft brush like one made from horsehair is ideal. It’s effective at removing dust and debris without scratching the surface. For tougher, caked-on mud, especially on the soles or welt, you may need a stiff brush. Just be careful to only use it on the non-delicate parts of the boot.
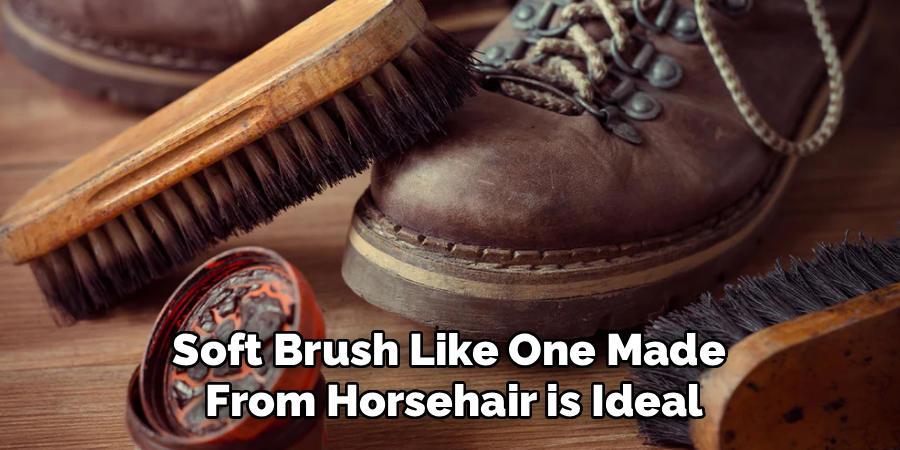
This step is one of the most important cleaning methods because it prevents you from scratching the leather when you apply your cleaning solution. Taking a minute to brush off your boots will make the rest of the job much smoother.
3 Step-by-Step: How to Clean the Exterior of Leather Boots
Now that your boots are prepped, it’s time to wash the exterior. The best way to clean leather boots at home involves a gentle touch and the right cleaning solution. You want to lift the dirt without saturating the leather with too much water.
Work the cleaning solution into the leather using a soft cloth and a gentle circular motion. This technique helps to foam up the cleaner and pull dirt from the grain of the leather. Below, we’ll detail how to use specific cleaners and the proper way to rinse.
1. Using Leather Cleaner or Saddle Soap
Saddle soap is a classic and effective choice for cleaning leather. To use it, dampen a soft cloth in lukewarm water and swirl it in the saddle soap tin to create a lather. Don’t be afraid to work up a good foam, as this is what will lift the dirt.
Apply the lather to the boot in small sections, rubbing gently in a circular motion. This method ensures you cover the entire surface evenly. If you’re using a liquid leather cleaner, apply a small amount to your cloth and use the same technique. The goal is to clean with the foam, not to soak the leather.
As you work, you should see the dirt transferring from the boot to your cloth. Pay extra attention to any creases or areas that seem especially grimy. The right cleaning solution will do most of the work for you, so there’s no need for aggressive scrubbing.
2. Proper Washing and Rinsing Techniques
After you have cleaned the entire boot with your soapy water or saddle soap solution, the next step is to “rinse” it. This doesn’t mean running your boots under water. Instead, you’ll use a clean, damp cloth to wipe away all the foam and lifted grime.
Rinse your cloth frequently in fresh water as you go to avoid reapplying dirt to the boots. Gently wipe down the entire surface until no more suds or residue are visible. It’s important to remove all the cleaner, as any leftover soap can dry out the leather.
If you notice that some grime is still left after the first pass, you can repeat the cleaning process on those specific spots. Once you are satisfied that the boots are clean, take a separate, dry, clean cloth and give them one final wipe-down to absorb any excess moisture.
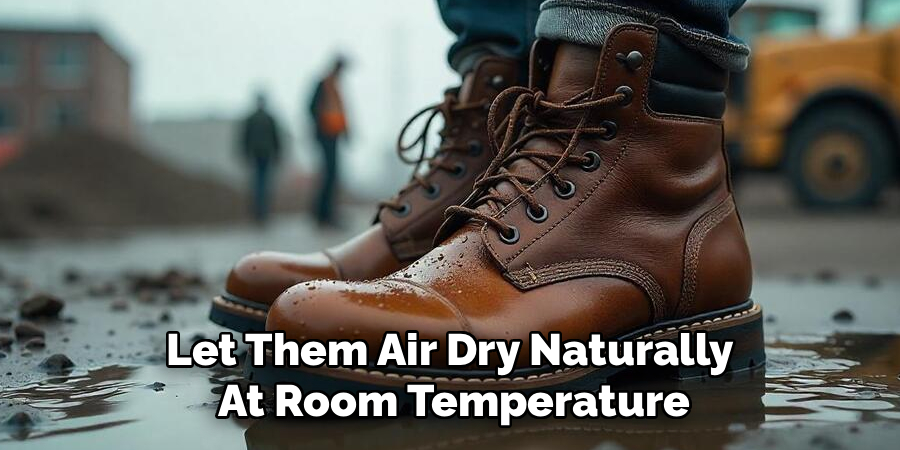
3. Drying Leather Boots Without Causing Damage
How you dry your leather boots is just as important as how you wash them. The key to the drying process is patience. Never place your boots near a direct heat source like a radiator, fireplace, or in direct sunlight. This can cause the leather to shrink, crack, and become brittle.
The best method is to let them air dry naturally at room temperature. To help them keep their shape and absorb internal moisture, you can stuff them with newspaper or a clean towel. Change the stuffing every few hours if the boots were particularly damp.
If you need to speed up the process, a boot dryer that uses gentle, circulated air is a safe option. These devices are designed to dry footwear without the damaging effects of high heat. Proper drying ensures your boots are ready for conditioning and prevents water damage.
Conditioning and Restoring Leather Boots After Cleaning
Cleaning leather, while necessary, can strip away some of the leather’s natural oils. The next step, conditioning, is essential for restoring that moisture and keeping the material soft and flexible. This is a critical part of proper care that should never be skipped.
Using a quality leather conditioner helps prevent cracking, revitalizes the color, and provides a base level of protection against the elements. We’ll now discuss how to choose the right product, how often to apply it, and how to bring back that beautiful shine.
Choosing and Applying Leather Conditioner
When selecting a leather conditioner, it’s important to pick a product that suits your boots. Some conditioners are heavier and meant for rugged work boots, while others are lighter and better for a more delicate type of leather. Always avoid products with harsh chemicals or silicones, which can clog the leather’s pores.
To apply the conditioner, use a clean, soft cloth. Put a small, coin-sized amount on the cloth and work it into the leather using small, circular motions. It’s better to apply a thin, even coat rather than a thick, goopy one. Ensure you cover the entire boot, including the seams and tongue.
Let the conditioner sit for the time recommended on the product label, which can range from a few minutes to several hours. This allows the leather to fully absorb the oils. Afterward, use a separate clean cloth or a horsehair brush to buff off any excess product. Here are some tips for choosing a conditioner:
- Check the product label to see if it’s right for your type of leather.
- Test on a small, inconspicuous area first.
- Choose natural oils and waxes over synthetic ingredients.
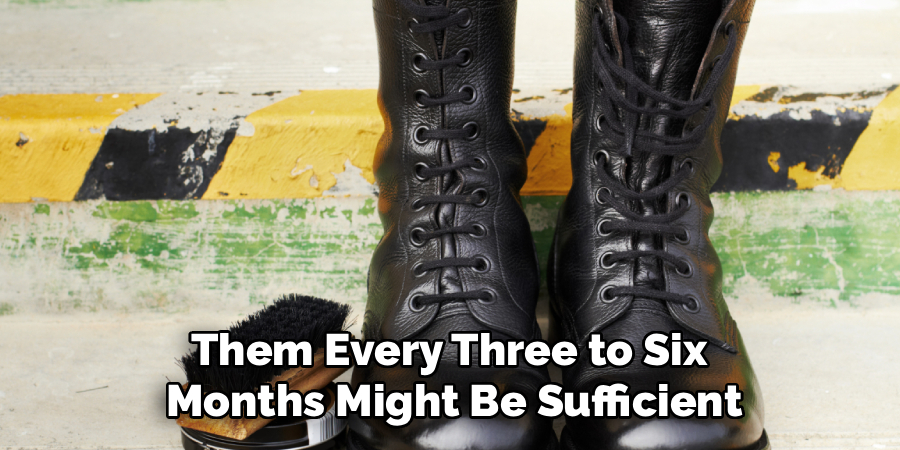
How Often Should You Condition Leather Boots?
The frequency of conditioning depends heavily on how you use your boots and the climate you live in. As a general rule, you should apply a leather conditioner after every deep cleaning process. This ensures you’re replenishing the oils that were just stripped away.
For boots that see regular, hard use, you might need to condition them as often as once a month. If you wear your boots only occasionally, conditioning them every three to six months might be sufficient. The type of leather also matters; oil-tanned leathers are more resilient and may need less frequent conditioning than other finishes.
The best way to tell if your boots need conditioning is to look at them. If the leather appears dry, faded, or starts to feel stiff, it’s definitely time for a treatment. Regular cleaning and conditioning are a team effort in preserving your footwear.
Restoring Shine and Luster to Leather Boots
After conditioning, you can take an extra step to restore the shine and luster to your boots. This is often done with a boot polish that matches the color of your leather. Polishing not only adds a glossy finish but also helps cover up minor scuffs and scratches.
To polish your boots, wrap a clean cloth around your finger, apply a small amount of polish, and rub it evenly over the entire boot. Let the polish dry, then use a soft brush or another clean rag to buff the surface vigorously. This action creates friction and heat, which brings out the brilliant shine.
For a quick, natural luster, a very small amount of coconut oil can be buffed into the leather with a clean cloth. However, for a professional-looking, long-lasting shine, a quality wax or cream polish is the best option.
Cleaning the Inside of Leather Boots
The exterior of your boots isn’t the only part that needs attention. The interior can accumulate sweat, bacteria, and odors over time. If the inside is also made of clean leather, you can use similar cleaning methods as the outside, but with a much lighter touch.
If the lining is fabric, a different approach is needed. The goal is to freshen up the inside without oversaturating it with moisture, which can damage the boot’s structure and take a long time to dry. Let’s explore some safe ways to refresh the boot’s interior.
Safely Refreshing the Interior Without Harming the Leather
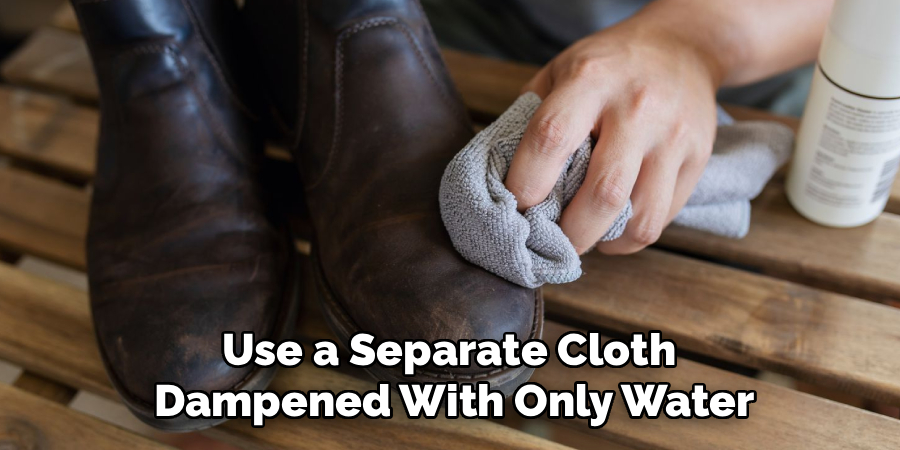
To clean the interior, start by creating a mild soapy water solution. Lightly dampen a cloth or sponge with the solution, making sure to wring out all excess water. You want the cloth to be damp, not wet. Gently wipe down the entire inside lining.
After wiping with the soapy solution, use a separate cloth dampened with only water to “rinse” the interior. Follow up immediately with a dry cloth to absorb as much moisture as possible. To combat odors and any remaining dampness, you can sprinkle in some baking soda or talcum powder and let it sit overnight before shaking it out.
Allow the boots to air dry completely before wearing them again. Stuffing them with newspaper can help speed up drying. This cleaning process will leave the inside of your boots feeling and smelling much fresher without causing any harm.
Treating Common Stains on Leather Boots
Even with regular care, accidents happen, and tough stains can appear on your leather boots. Stains from grease, ink, salt, or water require specific treatments. The method you use may vary depending on the types of leather and the nature of the stain.
Acting quickly is key to successful stain removal. The longer a stain sits, the deeper it penetrates the leather, making it more difficult to get out. Here are some targeted solutions for common culprits like ink stains and salt stains, which are especially relevant for leather work boots.
Grease, Oil, Ink, and Salt Stain Removal
Different stains require different approaches. For fresh grease or oil stains, the first step is to absorb as much as possible. Sprinkle cornstarch or talcum powder directly on the stain, let it sit for about 20 minutes, then brush it off. Repeat until the powder stops absorbing oil.
Ink stains are notoriously difficult. You can try blotting a fresh stain with a dry cloth, but for set-in ink, a professional’s help might be needed. Salt stains, common in winter, can be treated with a solution of one part white vinegar and two parts water.
Gently apply the appropriate treatment with a clean cloth. Never scrub aggressively, as this can spread the stain or damage the leather. Below is a table summarizing these methods.
| Stain Type | Removal Method |
| Grease or Oil Stains | Blot excess oil, then cover the stain with cornstarch or talcum powder. Let it sit for 20 minutes to absorb the oil, then brush away. Repeat as needed. |
| Ink Stains | Blot fresh ink immediately with a soft, dry cloth. For remaining marks, try rubbing gently with a small dab of soap on a dry cloth in a circular motion. |
| Salt Stains | Mix one part white vinegar with two parts water. Gently rub the solution onto the stain with a clean cloth, then wipe the area with a damp cloth to remove the vinegar. |
Tips for Handling Water Damage and Scuffs
Water damage can leave unsightly spots and cause leather to stiffen. If your boots get soaked, the first step is to blot away excess water with a soft, dry cloth. Then, stuff the boots with newspaper to help them hold their shape and draw out internal moisture. Let them air dry slowly away from direct heat.
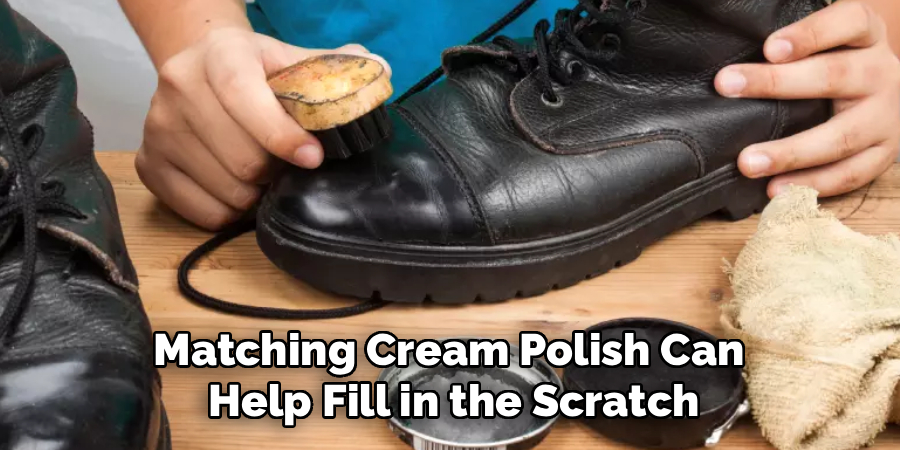
Scuff marks are another common issue, especially for work boots. Minor scuffs can often be buffed out with a clean cloth or a pencil eraser. For more noticeable scuffs, a matching cream polish can help fill in the scratch and restore the color.
Proper care after the fact is crucial. Once dry, always follow up with a leather conditioner to restore flexibility. Here are some quick tips:
- Act fast: Address water spots and scuffs as soon as you notice them.
- Blot, don’t rub: Gently blot water stains from the outside in to prevent them from spreading.
- Use an eraser: A simple pencil eraser can remove many light scuff marks.
- Condition after treatment: Always rehydrate the leather after treating for water damage.
Protecting Leather Boots After Cleaning
Once your boots are clean and conditioned, the final step is to protect them. Preventive care is the best way to maintain boot quality and make future cleanings easier. This involves creating a barrier against moisture and dirt.
Waterproofing is a key part of this protective process, especially if you live in a wet climate or wear your boots for outdoor work. Taking these extra steps as part of your proper care routine will significantly extend the life of your footwear. Next, we will cover specific waterproofing methods and storage tips.
Waterproofing and Preventive Care Steps
Waterproofing adds a crucial layer of defense for your leather boots. There are several products available, from sprays to waxes. Silicone sprays are easy to apply but may need to be reapplied more frequently. Waxes, on the other hand, offer more durable protection.
Beeswax is a popular choice because it provides excellent waterproofing while also conditioning the leather. To apply it, rub a small amount into the leather with a cloth, let it absorb, and then wipe away any excess. Liquid-based waxes are another great option, especially for boots with breathable liners like Gore-Tex, as they won’t clog the material’s pores.
Always choose waterproofing products that are free of harsh chemicals that could harm the leather. Here are some key preventive care steps:
- Choose the right product: Select a wax or spray suitable for your type of leather.
- Apply to clean, dry boots: Waterproofing is most effective when applied after cleaning.
- Cover the entire boot: Pay special attention to seams, where water is most likely to seep in.
- Reapply regularly: Follow the product’s instructions for reapplication frequency.
Storage Tips for Long-Lasting Boot Quality
How you store your boots when you’re not wearing them has a big impact on their longevity. Proper storage helps maintain boot quality by protecting them from damage and helping them keep their shape. Never just toss your work boots in a pile at the end of the day.
Store your boots in a cool, dry place away from direct sunlight, which can fade and dry out the leather. If you have the space, using shoe trees is an excellent practice. Shoe trees help boots retain their shape, prevent deep creasing, and absorb any lingering moisture and odors.
For long-term storage, make sure your boots are completely clean and conditioned before putting them away. Placing them in a breathable bag or their original box will protect them from dust. A little extra effort in storage is a simple part of proper care that pays off.
Frequently Asked Questions(FAQs)
Here are answers to some common questions about cleaning and caring for leather boots.
Is It Safe to Use Household Cleaners on Leather Boots?
While some mild household cleaners like diluted vinegar or dish soap can be used cautiously on leather boots, it’s generally risky. Many household cleaners contain harsh chemicals that can strip the leather’s natural oils and cause damage, especially on a delicate type of leather. Sticking to specialized leather cleaning methods is always the safest option.
How Do I Dry Leather Boots Properly After Cleaning?
The proper drying process involves letting your boots air dry at room temperature, away from direct heat. Stuff them with a clean towel or newspaper to absorb moisture and maintain their shape. For faster results without causing water damage, a boot dryer that uses gentle, unheated air is a safe choice.
What Is the Best Way to Clean Leather Work Boots?
For leather work boots, start by using a soft brush to remove heavy dirt. Use a dedicated cleaning solution like saddle soap to tackle grease and tough stains. The entire cleaning process should be followed by conditioning to restore oils and waterproofing to protect them from the elements on the job.
Conclusion
In conclusion, caring for your leather boots through regular cleaning and conditioning can significantly extend their lifespan and maintain their aesthetic appeal. By following the step-by-step guide provided, you can effectively remove dirt, stains, and moisture while restoring the natural shine of your boots. Remember, proper maintenance not only enhances their look but also protects them against future damage. With the right tools and techniques, your leather boots can remain a stylish and durable part of your wardrobe for years to come. If you have any questions or need personalized advice on boot care, feel free to reach out!