

If you’re wondering how to fix broken high heels, you’re not alone. That sinking feeling when your favorite stilettos snap mid-step can ruin your entire day. The good news? Most heel damage is completely repairable at home with simple tools and the right technique. Whether it’s a worn-out heel tip, cracked stem, or a fully detached heel, this complete guide will show you exactly quickly and safely.
Instead of throwing your favorite pair away, learn the right repair methods and save both money and style.
Why High Heels Break (Understanding the Damage)
Before learning how to fix broken high heels, you need to understand what went wrong.
High heels typically fail in predictable ways:
- Worn-down rubber heel tips
- Cracked heel stems
- Completely snapped stiletto stems
- Heel structure separating from shoe base
- Platform or wedge sole separation
Identifying the exact issue helps you choose the correct repair method.
Tools You Need to Fix Broken High Heels
To properly fix broken high heels, gather these basic supplies:
- Shoe adhesive (E6000 or Shoe Goo recommended)
- Replacement rubber heel tips (various sizes)
- Fine-grit sandpaper
- Rubbing alcohol
- Toothpicks
- Clean cloth
- Pliers
- Clamps or heavy books
- Strong thread or dental floss
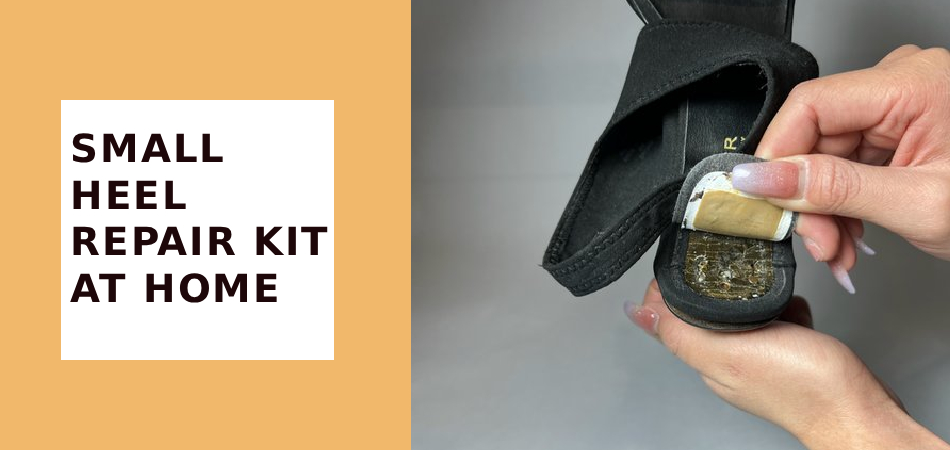
Keeping a small heel repair kit at home makes emergency fixes easy.
Step by Step to Broken High Heels
1. How to Fix Worn-Out Heel Tips
Worn heel caps are the most common issue.
Step 1: Remove the Old Heel Tip
- Use pliers to twist and pull off the damaged cap.
- If stuck, gently pry using a flathead screwdriver.
- Clean off leftover glue or debris.
Step 2: Install the New Heel Tip
- Sand the exposed heel stem lightly.
- Clean with rubbing alcohol and let dry.
- Apply adhesive inside the new tip and on the stem.
- Press firmly for 30 seconds.
- Let cure for 24 hours before wearing.
This is the easiest way to fix broken high heels at home.
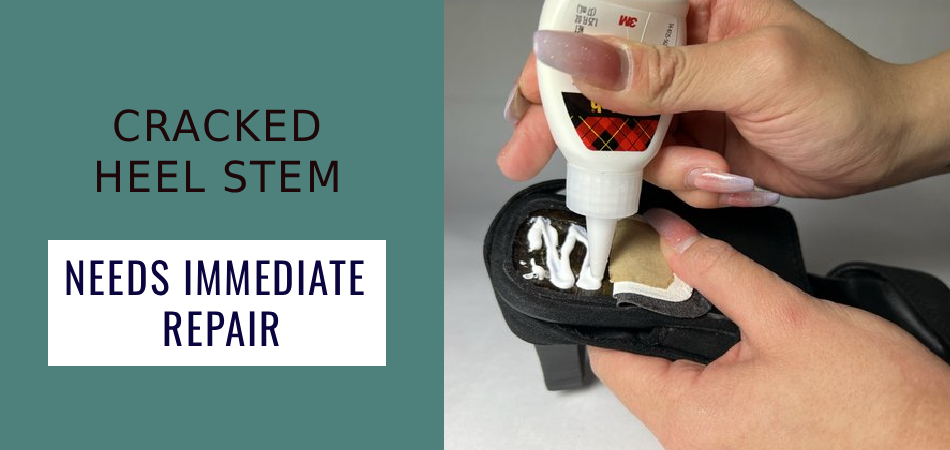
2. Fix a Cracked Heel Stem
A cracked heel stem needs immediate repair before it snaps completely.
Cleaning the Crack
- Use rubbing alcohol to clean inside the crack.
- Allow it to dry completely.
Reinforcing the Stem
- Apply strong epoxy deep inside the crack using a toothpick.
- Wrap tightly with thread or dental floss.
- Let cure for 24–48 hours.
This reinforcement method strengthens the internal structure.
3. Completely Broken Heel Stem
If your stiletto snaps in half, don’t panic.
Align the Pieces
- Carefully match both broken parts.
- Check alignment from all angles.
Add Internal Support
- Insert a thin metal pin or straightened paperclip into both ends.
- Apply epoxy to both surfaces.
- Press together firmly.
- Clamp tightly and leave for 48 hours.
This creates a strong internal core for durability.
4. How to Reattach a Detached Heel
When the entire heel separates from the base:
Prepare the Surface
- Remove old glue completely.
- Rough both surfaces using sandpaper.
Bond Properly
- Apply generous shoe epoxy.
- Press together carefully.
- Clamp with heavy books.
- Allow 48 hours to fully cure.
Proper curing time is essential when fixing broken high heels.
Emergency Quick Fixes (Temporary Only)
If you’re stuck outside:
Rubber Band Method
Wrap a thick rubber band around a loose heel for short-term stability.
Chewing Gum Trick
Chewed gum can temporarily replace a missing heel tip.
⚠️ These are emergency solutions only — do a permanent repair immediately after.
How to Fix Platform and Wedge Heel Damage
Platform and wedge heels break differently.
Sole Separation
- Inject adhesive into the gap.
- Clamp entire length.
- Cure for 48 hours.
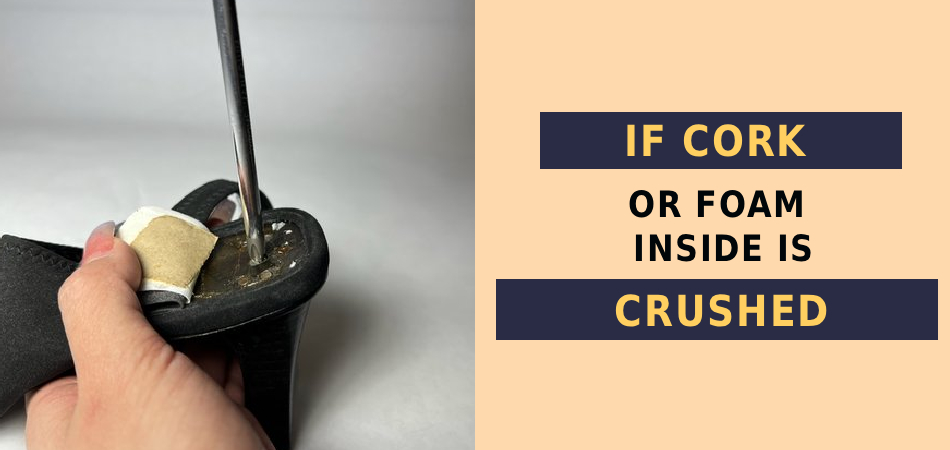
Compression Damage
If cork or foam inside is crushed, visit a professional cobbler. DIY glue will not fix internal collapse.
When to Visit a Professional Cobbler
Sometimes professional repair makes more sense.
Seek Help If:
- Internal metal rod is bent
- Heel structure is severely damaged
- Expensive designer shoes are involved
Most cobbler repairs cost between $15–$45, which is cheaper than buying a new pair.
Preventing Future Heel Damage
Learning how to fix broken high heels is helpful — but prevention is better.
1. Regular Inspection
Check heel tips weekly.
2. Add Protective Rubber Caps Early
Replace factory tips before they wear completely.
3. Smart Storage
Store heels lying flat in dry areas.
Avoid heat and humidity.
4. Rotate Your Shoes
Avoid wearing the same pair daily.
Best Adhesives for Fixing Broken High Heels
Not all glue works well.
Recommended:
- E6000
- Shoe Goo
- Flexible shoe epoxy
Avoid:
- Regular super glue (becomes brittle and cracks)
Flexible adhesives handle walking pressure better.
Frequently Asked Question
Can I use super glue to fix broken high heels?
Super glue works temporarily but fails under pressure. Use flexible shoe adhesive instead.
How long should I wait before wearing repaired heels?
Wait at least 24–48 hours for full curing.
Are heel tips universal size?
No. Measure the diameter before buying replacements.
Is repairing heels worth it?
For quality shoes, yes. Repairing is far cheaper than replacement.
Can broken heels be permanently fixed?
Yes, most heel damage can be permanently repaired if done correctly.
When Repair Is Not Worth It
Consider replacement if:
- Upper leather is torn badly
- Shoe structure is warped
- Multiple major damages exist
- Very low-quality footwear
Invest repair time in quality shoes.
Final Thoughts
Now you fully understand safely and effectively. From simple heel tip replacement to repairing a snapped stiletto, most damage can be handled at home with patience and the right materials.
Instead of discarding your favorite pair, try these proven repair methods. With proper maintenance and early fixes, your high heels can last for years.