

Nothing elevates your appearance quite like a pair of perfectly polished leather boots. Whether you’re preparing for a job interview, military inspection, or simply want your footwear to look its absolute best, mastering the art of boot polishing transforms worn leather into gleaming perfection. Learn how to shine boots step by step with simple tools and expert tips to make your boots look brand new and last longer.

This comprehensive guide walks you through professional-grade techniques that deliver stunning results. You’ll learn everything from selecting the right products to achieving that coveted mirror finish that catches every eye in the room.
Understanding Boot Polish and What It Does
Boot polish serves multiple purposes beyond creating visual appeal. The wax-based formula protects leather from moisture, prevents cracking, and extends the lifespan of your investment. Discover how to shine boots like a pro—easy steps, essential products, and smart tips to restore shine and protect your boots for years.
Quality polish penetrates the leather’s pores while creating a protective barrier on the surface. This dual action keeps your footwear looking newer for longer while maintaining suppleness.
Different polish types suit different needs. Paste wax delivers the highest shine potential, while cream polish offers superior conditioning properties for dry or neglected leather.
Gathering Your Essential Supplies
Success starts with having the right tools at your fingertips. Don’t worry—you won’t need an expensive collection to achieve professional results.
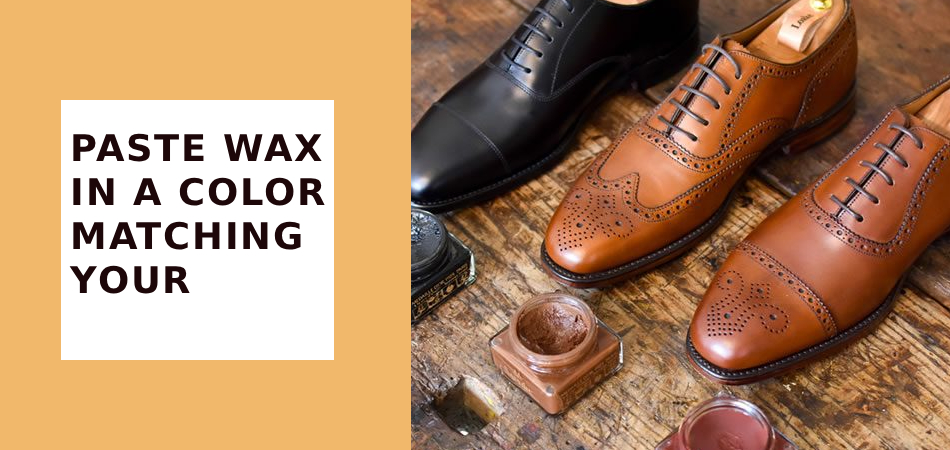
Start with a quality paste wax in a color matching your footwear. Black and brown are most common, though neutral works for lighter shades or when you’re unsure.
A horsehair brush removes dust and applies polish evenly. These natural bristles won’t scratch delicate leather surfaces while providing the perfect stiffness for buffing.
Cotton cloths work perfectly for application and buffing. Old t-shirts cut into squares make ideal polishing rags that won’t leave lint behind.
A small bowl of water enables advanced techniques. Room temperature works best—you’ll understand why in the detailed steps ahead.
Preparing Your Footwear Properly
Preparation determines your final results more than any other factor. Skipping this stage guarantees disappointing outcomes no matter how carefully you polish.
Remove laces completely from the boots. This allows access to the tongue area and prevents polish stains on fabric laces.
Wipe away all surface dirt with a damp cloth. Dried mud, salt stains, or dust prevent polish from adhering properly to the leather surface.
Use a stiff brush to dislodge dirt from seams and welt stitching. These often-overlooked areas collect grime that interferes with achieving an even finish.
Let the leather dry completely if you’ve used water for cleaning. Applying polish to damp leather creates a cloudy appearance that’s difficult to correct.
Conditioning the Leather First
Dry leather absorbs polish unevenly and cracks under stress. A quick conditioning step ensures optimal results while protecting your investment.
Apply a thin layer of leather conditioner if your footwear feels stiff or shows fine cracks. Work it in with circular motions using your fingers or a soft cloth.
Let conditioner absorb for fifteen minutes before proceeding. This restores essential oils that keep leather supple and receptive to polishing products.
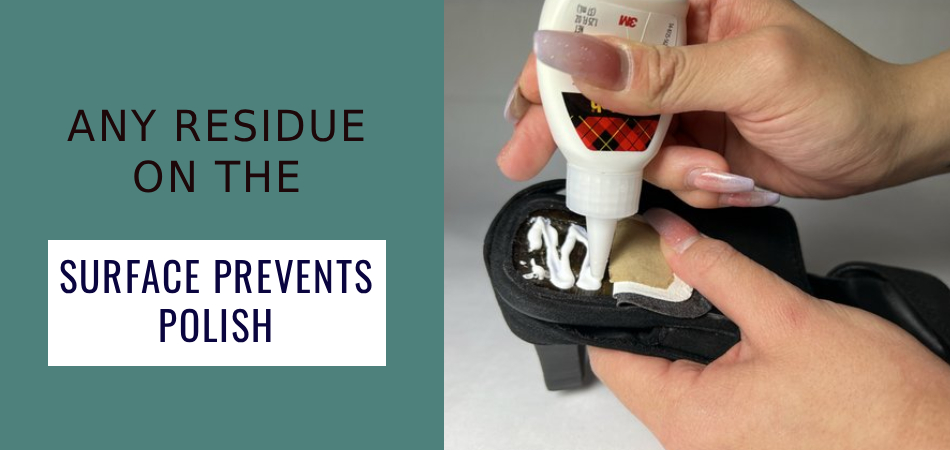
Wipe away excess conditioner that hasn’t absorbed. Any residue on the surface prevents polish from bonding properly with the leather.
Applying the Base Coat
The foundation layer creates the platform for your mirror finish. Rushing through this step compromises everything that follows.
Wrap a cloth around your first two fingers, creating a smooth, tight applicator pad. This gives you control while preventing fingerprints on fresh polish.
Dip your wrapped fingers lightly into the paste wax. Less is more at this stage—you can always add another layer but removing excess creates frustration.
Apply polish using small circular motions across the entire boot surface. Work methodically from toe to heel, ensuring complete coverage without thick buildup.
Pay extra attention to creases and flex points where leather needs the most protection. These areas endure the most stress and benefit from additional product.
Let this base coat dry for ten to fifteen minutes. The polish should lose its wet appearance and feel dry to a light touch.
Brushing to Build Initial Shine
Brushing activates the wax and begins developing the characteristic luster you’re after. This step separates mediocre results from truly impressive footwear.
Use your horsehair brush with quick, firm strokes across the leather surface. The friction generates heat that melts the wax slightly, helping it bond with the leather.
Brush in the same direction rather than back and forth. This technique aligns the wax particles for a more uniform appearance.
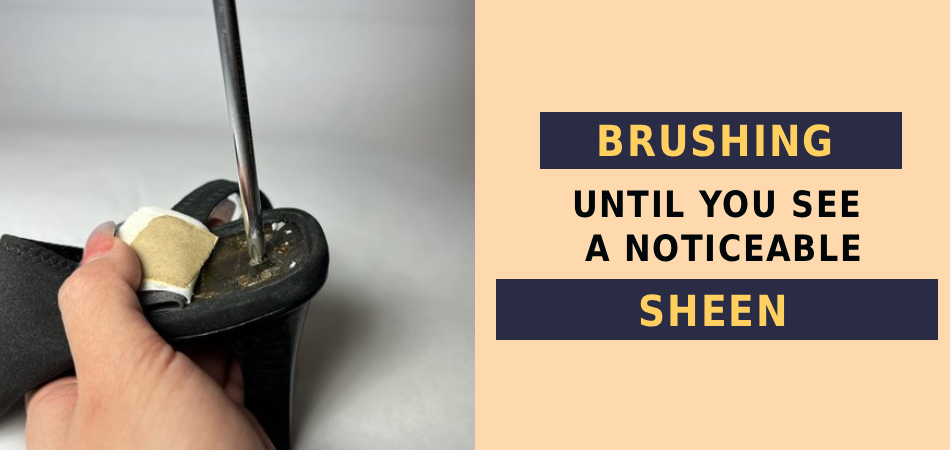
Continue brushing until you see a noticeable sheen develop. Your arm might get tired, but the effort directly translates to better results.
Applying Additional Layers for Depth
Multiple thin coats create superior results compared to one thick application. Patience during this stage pays dividends in the final appearance.
Repeat the application process with another light coat of paste wax. Focus on areas that will become the high-shine zones, particularly the toe and heel.
Allow each layer to dry completely before adding the next. Typically two to three coats provide sufficient depth for an impressive finish.
Brush thoroughly between each application. This builds up microscopic layers that create depth and richness in the final shine.
Achieving the Mirror Finish
The spit-shine technique creates that legendary mirror-like surface that reflects light like glass. This advanced method requires practice but delivers stunning results.
Dampen your polishing cloth very slightly—it should feel barely moist, not wet. Excess water ruins the finish you’ve been building.
Add a tiny amount of paste wax to the damp cloth. We’re talking about the size of a match head, not a large dollop.
Work in small, tight circles on one small section at a time. The combination of water, wax, and friction creates an incredibly smooth surface layer.
Use gentle pressure and let the technique do the work. Pressing too hard disrupts the layers you’ve built and creates uneven patches.
Continue adding microscopic amounts of water and wax as you work. You’re essentially building up transparent layers that fill in the leather’s natural texture.
Work each section until water stops creating resistance on the surface. This indicates you’ve achieved maximum smoothness in that area.
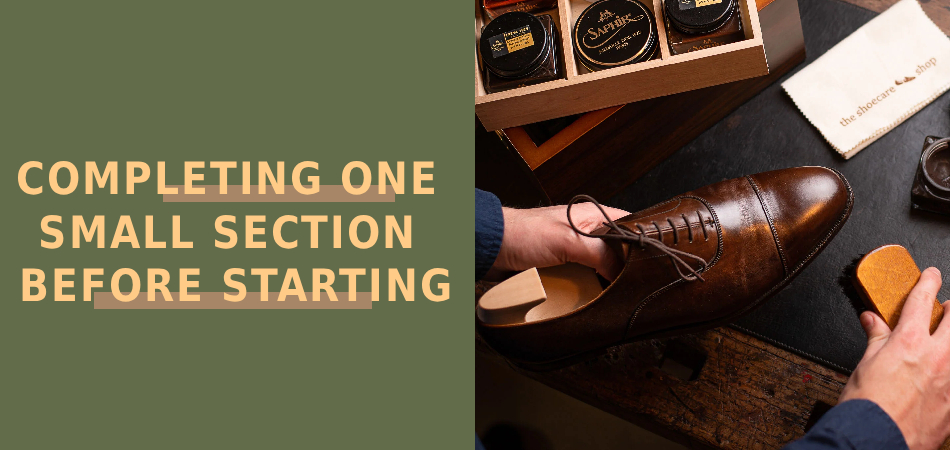
Move systematically across the boot, completing one small section before starting the next. This methodical approach ensures consistent results.
The entire mirror-finish process can take thirty minutes or more per boot. Professional results require investment of time and attention to detail.
Buffing to Perfection
The final buffing stage brings out the full potential of all your previous work. This is where your footwear truly transforms.
Use a clean, dry section of soft cloth for final buffing. Any polish residue on the cloth will dull rather than brighten the surface.
Buff with quick, light strokes using moderate pressure. You’re polishing the top layer of wax to maximum smoothness, not rubbing it off.
The leather should now reflect light clearly and show a deep, rich color. If you can see your reflection in the toe cap, you’ve achieved expert-level results.
Maintaining Your Polished Footwear
Proper maintenance between full polishing sessions keeps your efforts looking fresh for weeks. A few simple habits make all the difference.
Wipe your polished footwear with a soft cloth after each wearing. This removes dust and light dirt before they bond with the wax surface.
Perform a quick brush-and-buff every few wears. Five minutes of maintenance preserves your finish far longer than starting over repeatedly.
Store footwear properly with shoe trees inserted. These maintain shape and prevent creases that crack polish and diminish appearance.
Reapply a fresh coat of paste wax every month or when you notice the shine dulling. Full mirror-finish procedures shouldn’t be necessary each time.
Troubleshooting Common Issues
Even experienced polishers encounter challenges. Knowing how to address problems saves time and prevents frustration.
Cloudy or hazy finishes usually indicate moisture issues. Strip the polish with saddle soap and start fresh with completely dry leather.
Uneven color typically results from incomplete coverage during application. Add another thin coat focusing on lighter areas, then buff thoroughly.
Cracking or flaking means you’ve applied polish too thickly. Remove excess product with a stiff brush and cloth, then rebuild with thinner layers.
Dull spots that won’t shine often indicate damaged or excessively dry leather. Condition these areas before attempting to polish them again.
Special Considerations for Different Boot Types
Different footwear materials and styles require adjusted techniques. Understanding these nuances ensures optimal results across your entire collection.
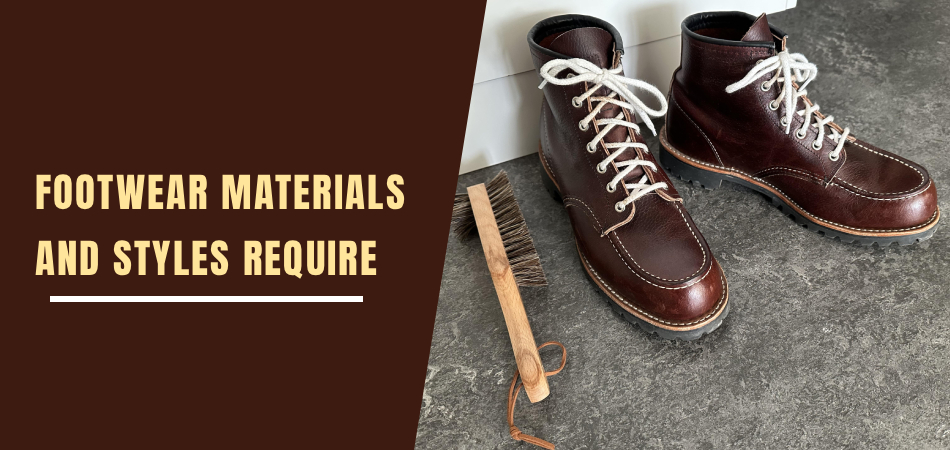
Work boots with oil-tanned leather resist traditional polishing methods. Use specialized products designed for these finishes rather than standard paste wax.
Patent leather requires only gentle cleaning and buffing. The factory finish provides all the shine needed and additional polish creates buildup.
Suede and nubuck leather should never be polished with wax-based products. Special brushes and sprays maintain their distinctive texture without creating unwanted shine.
Exotic leathers like ostrich or alligator need gentle handling and specialized products. Consult the manufacturer’s recommendations before applying standard polishing techniques.
Building Your Polishing Routine
Developing consistent habits ensures your footwear always looks its best. A systematic approach prevents neglect while avoiding over-polishing.
Schedule deep cleaning and full polishing sessions monthly for regularly worn footwear. This frequency maintains appearance without excessive product buildup.
Quick maintenance after each wearing takes less than two minutes. This small time investment prevents dirt from bonding with wax and extends the life of your full polish job.
Rotate your footwear collection regularly. Allowing each pair to rest between wearings helps leather maintain its structure and polish finish.
Frequently Asked Questions
Can I polish boots without proper polish?
Household substitutes like petroleum jelly create temporary shine but don’t protect leather properly. Invest in actual boot polish for lasting results and material protection.
How long should the entire process take?
Expect to spend twenty to forty minutes per boot for a complete job including mirror finish. Quick maintenance takes just five minutes when done regularly.
Will polishing waterproof my footwear?
Polish provides moderate water resistance but shouldn’t be considered waterproofing. Apply dedicated waterproofing products if you need serious moisture protection.
How do I remove old polish buildup?
Use saddle soap and warm water with a stiff brush to strip accumulated layers. Dry completely before starting fresh with clean applications.
Can I polish wet leather safely?
Never apply polish to wet or damp leather. Moisture prevents proper bonding and creates cloudy, uneven results that are difficult to correct.
Does polish color need to match exactly?
Matching color closely is important, but neutral polish works for most lighter shades. When in doubt, test on an inconspicuous area first.
Conclusion
Learning how to shine boots properly transforms ordinary footwear into showpieces that command respect and attention. The techniques covered here work whether you’re preparing for military inspection, job interviews, or simply take pride in your appearance.
The process requires patience and practice, but results improve dramatically with each session. What seems time-consuming initially becomes quick and automatic once you’ve developed muscle memory and understanding.
Quality polishing extends leather life significantly while maintaining professional appearance. The small investment in supplies and time pays dividends through reduced replacement costs and increased confidence.
Start with basic techniques and gradually incorporate advanced methods like mirror finishing. Even beginners achieve impressive results when following these proven steps systematically.
Your footwear makes a statement about attention to detail and personal standards. Perfectly polished leather communicates professionalism, discipline, and self-respect more effectively than almost any other element of your appearance.
3 / 3