

Wet feet can quickly ruin your comfort, whether you’re working outdoors, hiking, or walking in heavy rain. Learning how to waterproof boots is the best way to protect your footwear and extend its lifespan. Leather and fabric boots are naturally vulnerable to moisture, but with the right waterproofing method, you can keep them dry and durable. This step-by-step guide will show you exactly how to waterproof boots at home using simple tools and proven techniques.

Understanding Boot Waterproofing and Why It Matters
Boot waterproofing is more than just protection from rain—it preserves the structure and quality of your footwear. Leather boots are porous, meaning they absorb water easily. Without waterproofing, moisture causes cracking, stiffness, and permanent damage.
By applying a waterproof barrier, you protect boots from rain, mud, and snow while maintaining comfort and breathability. Waterproof boots last longer, perform better, and look newer over time.
Common Causes of Water Damage to Boots
Water exposure is one of the main reasons boots wear out early. Moisture weakens leather fibers and damages seams.
Common water-related boot problems:
- Cracked leather due to loss of natural oils
- Mold and mildew from trapped moisture
- Weakened stitching and glue
- Bad odor and stiffness
Understanding these risks highlights why waterproofing boots regularly is essential.
Benefits of Waterproofing Boots
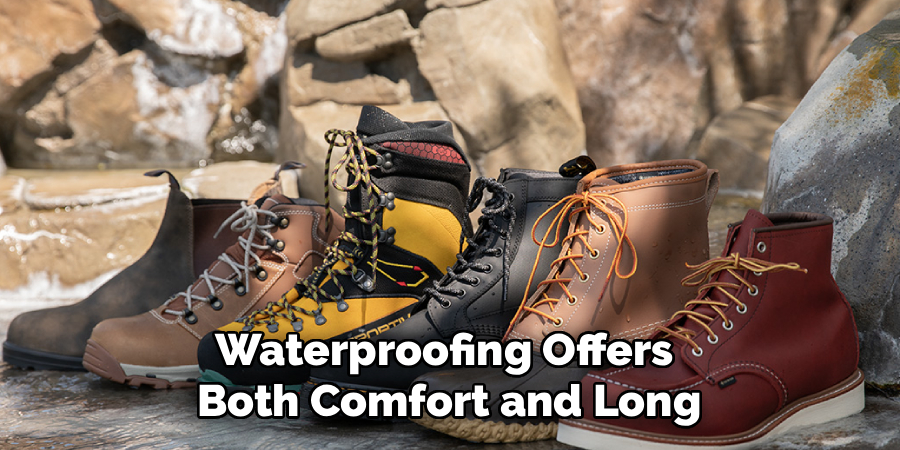
Waterproofing offers both comfort and long-term value.
Key benefits include:
- Extended boot lifespan
- Dry and comfortable feet
- Prevention of odor and bacteria
- Preserved leather appearance
- Improved performance in wet conditions
For waterproof work boots and hiking boots, this step is especially important.
Choosing the Right Waterproofing Method for Your Boots
Different boots require different waterproofing treatments. Using the wrong product can damage the material or reduce breathability.
Comparing Waterproofing Products
| Product Type | Best For | Protection Level |
|---|---|---|
| Waterproofing Spray | Suede, nubuck, fabric | Light–Medium |
| Mink Oil / Conditioner | Full-grain leather | Medium–High |
| Wax-Based Treatment | Work & hiking boots | High |
| Saddle Soap | Pre-cleaning | Cleaning only |
Best Waterproofing Method for Different Boot Materials
Choosing the correct method ensures effective waterproofing.
- Full-Grain Leather Boots: Wax or mink oil
- Suede & Nubuck Boots: Waterproofing spray only
- Fabric/Synthetic Boots: Spray-based treatment
- Combination Boots: Treat each material separately
For boots with Gore-Tex membranes, only treat leather areas.
What You Need to Waterproof Boots at Home
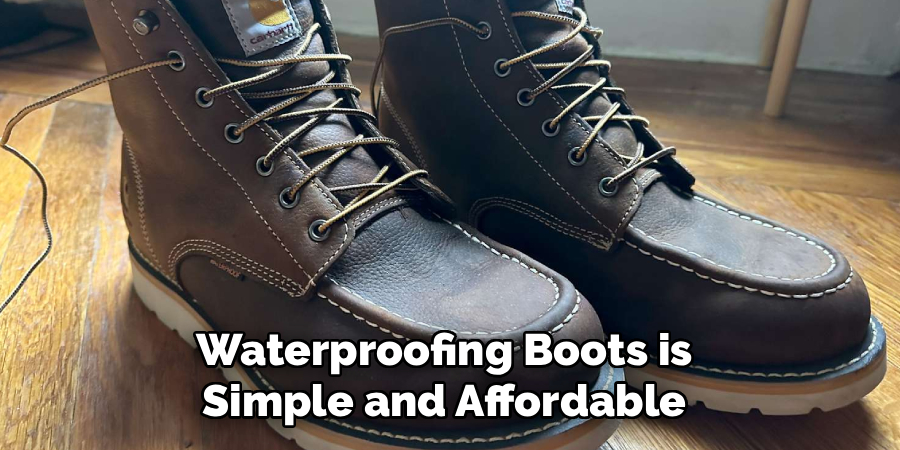
Waterproofing boots is simple and affordable.
Required Tools:
- Soft brush
- Clean cloth
- Waterproofing spray, wax, or oil
- Saddle soap (optional)
- Newspaper for drying
7 Step-by-Step Guide: How to Waterproof Boots
Step 1: Clean and Dry the Boots
Remove laces and brush off dirt. Clean with a damp cloth or saddle soap if needed. Allow boots to air-dry completely—avoid heat.
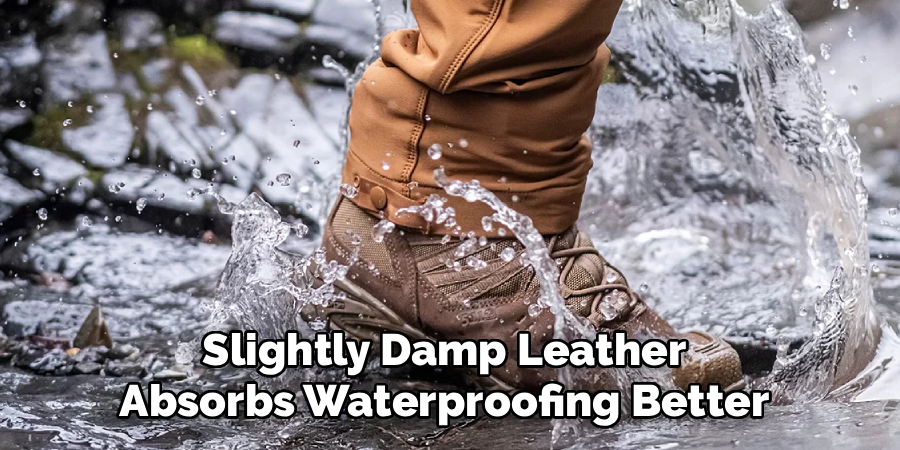
Step 2: Prepare the Leather
Slightly damp leather absorbs waterproofing better. If boots are dry, wrap them in a damp towel for 1–2 hours.
Step 3: Apply Waterproofing Treatment
- Spray: Apply evenly from 6–8 inches
- Wax/Oil: Rub gently using circular motions
Cover seams and stitching carefully.
Step 4: Dry and Cure
Let boots dry at room temperature. Stuff with newspaper to absorb moisture and maintain shape.
Step 5: Buff the Leather
Once dry, buff boots with a clean cloth or brush to restore shine and remove excess product.
Step 6: Test Waterproofing
Sprinkle water on the boots. If water beads and rolls off, waterproofing is successful.
Step 7: Maintain and Reapply
Reapply waterproofing every 2–3 months or when water stops beading.
Maintenance Tips for Waterproof Boots
- Store boots in a cool, dry place
- Clean regularly
- Avoid direct sunlight
- Reapply waterproofing after heavy use
Frequently Asked Questions
How do I know when boots need waterproofing again?
When water absorbs into the leather instead of beading, it’s time to reapply.
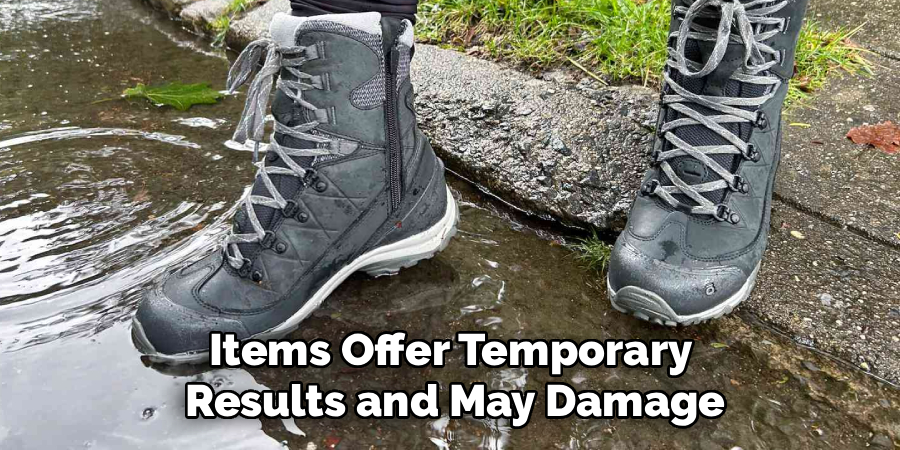
Can household items waterproof boots?
Household items offer temporary results and may damage leather. Use proper products instead.
Does waterproofing affect breathability?
Quality products maintain breathability, especially sprays.
How often should waterproofing be reapplied?
Every 2–3 months or more frequently in wet conditions.
Conclusion
Learning how to waterproof boots is one of the best ways to protect your footwear investment. With the right tools, proper cleaning, and regular maintenance, you can keep your boots dry, comfortable, and durable for years. Follow this guide step by step and enjoy reliable waterproof boots in any weather.